Bob Albers
My Cheese Cave
By Bob Albers*
Cheese caves are wonderful things. Especially when you consider the wonderful things they contain and the wonderful things we get out of them. If you live in the mountains and are fortunate enough to have a real cave on your property, you are ahead of the rest of us.
I live in perfectly flat country. There are only two high lands here: the Mississippi River levies and Monkey Hill in Audubon Park. Both of these are man made and don’t have any caves. Monkey hill was a WPA project, so the children of New Orleans would know what a hill looked like. Today, the engineering students at Tulane University measure it each year as part of their curriculum.
I, like many, have to find old refrigerators, dorm sized ones or wine chillers to modify with external controllers. It seems that the warmest temperature available in a refrigerator is about 40F. Wine chillers aren’t much warmer. For cheese aging, we need to hold a temperature of around 50 to 55F.
Then, there is the question of humidity. Cheese caves need to be relatively humid. There are many devices on the market to regulate humidity. Some dry the air while others make the air more humid.
When your “cave” is a small refrigerator, the humidifying device needs to be small so as to allow enough room for the cheese. Also, there must be some kind of control to keep from over or under humidifying the cave. This leads to a controller which senses the humidity inside of the cave and turns the humidifier on & off in response to conditions inside the cave. While the sensor probe needs to be inside the cave, the controller doesn’t have to be. Let me share with you how I addressed these issues.
First, is the matter of a budget. Perhaps you have a money tree in your back yard, but my thumb isn’t that shade of green.
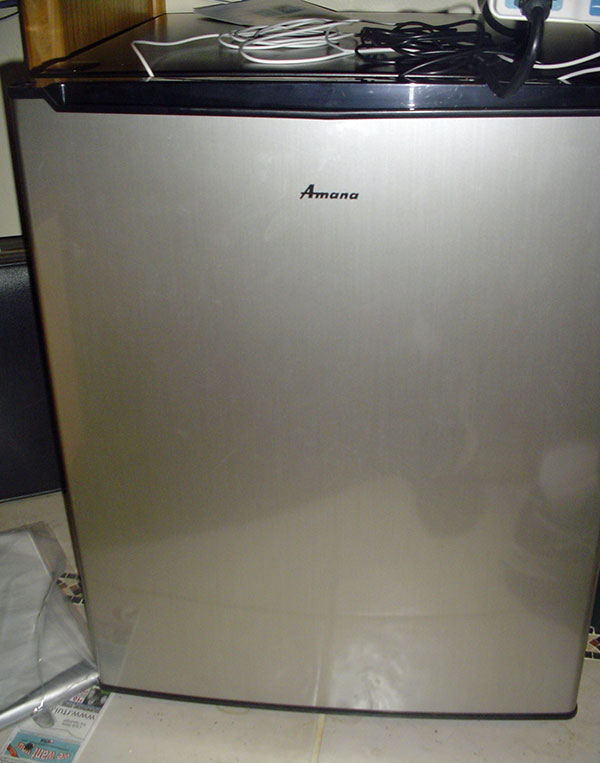
I noted a sale at Kmart on “dorm sized” refrigerators. I was able to purchase an Amana model number AMA27S1 refrigerator which is 2.7 cubic feet in volume and measures 26.1 inches tall. (Just right to go under the counter in my office as you can see by the photo here.)
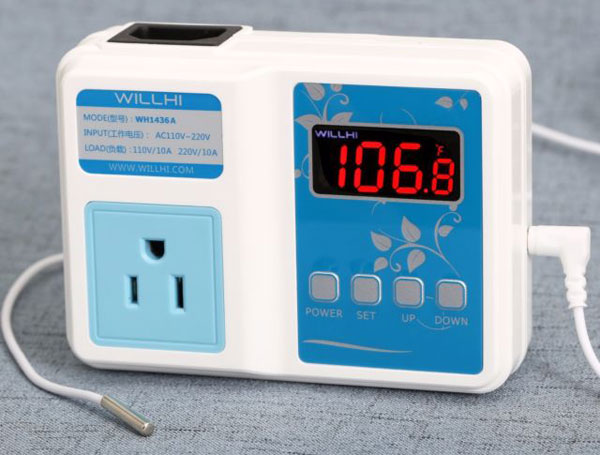
The next thing required is to control the temperature of the fridge. Looking on Amazon, I found a WILLHI model WH1436A device pictured here for $28.50 (click here).
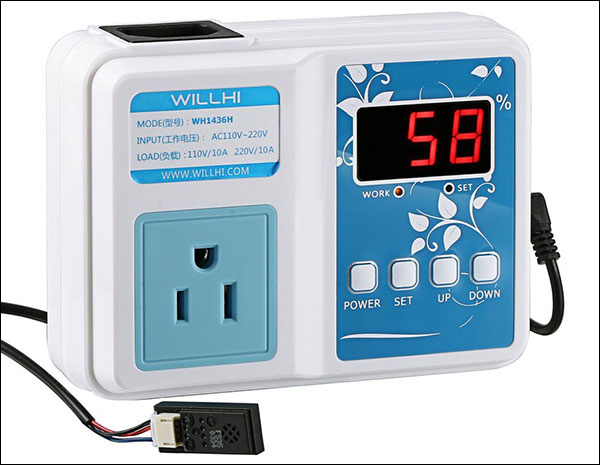
The humidity controller looks just like the temperature controller but it’s model # is WH1436H and it is also obtainable from Amazon for $37.50 (click here).
That’s all well and good, but now we need a source of humidity. Sticking with my favorite Brazilian river on line department store, I found a “Bottle Cap” Humidifier pictured below (click here).
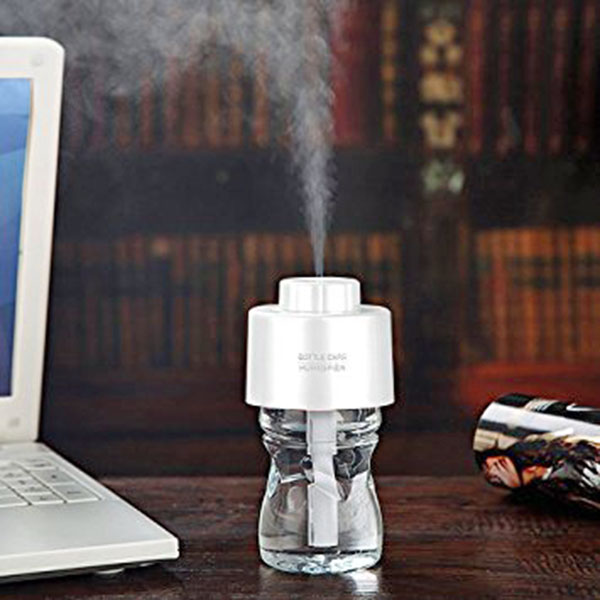
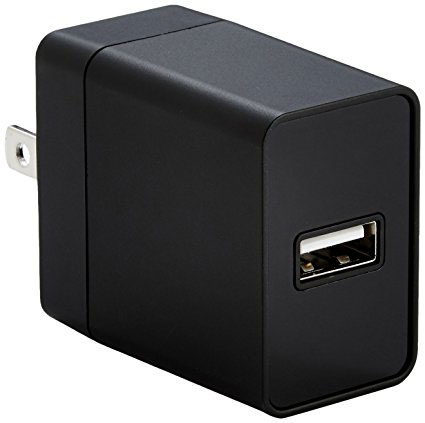
It fits in the door rack of the mini fridge. It is powered by a USB circuit so I had to add a USB power cube obtained from, you guessed it, Amazon.com for $6.99 (click here).
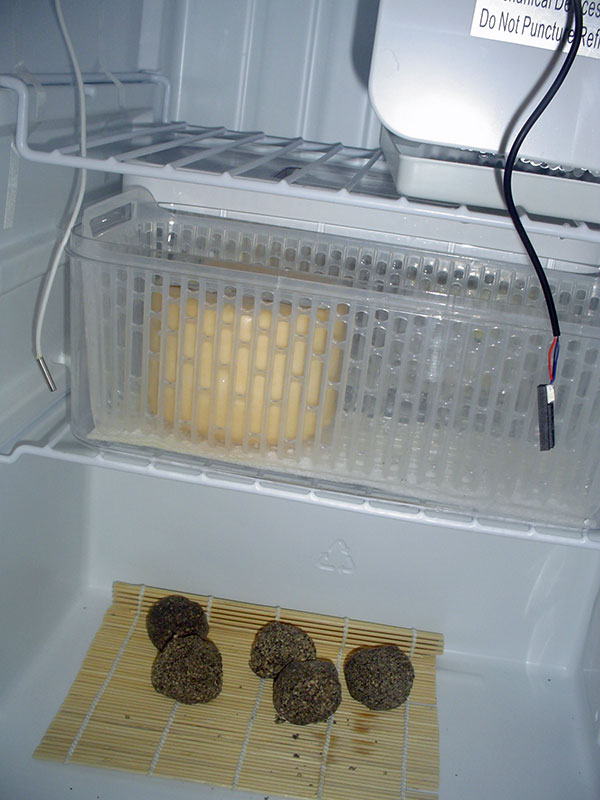
Connecting it all together, here you see the two controllers mounted to the shelf above the fridge. The one on the left side is the temperature controller and the one on the right is for humidity.
The black thing plugged into the humidity controller is the USB power cube.

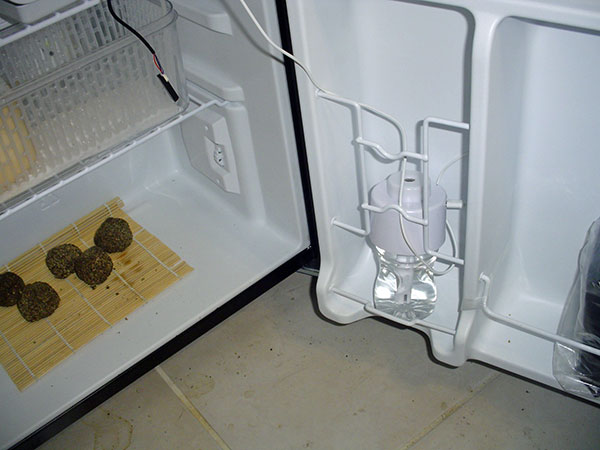
As I have been opening and closing the cave while writing this article, the temperature and humidity are a bit out of whack.
With the door open, you can see the temperature probe (left) and humidity sensor (right) hanging down from the top of the enclosure. When I shut the door, the door seal forms around the wires.
Ok, now let’s see what the total cost of my fully automated cheese cave is:
Refrigerator $99.99
Temperature controller $28.50
Humidity controller $37.50
Humidifier $6.40
USB power cube $6.99
Total $179.38
If you happen to have any of these items already, you are ahead of the game. I hope someone finds this helpful. Now, let’s make cheese!
*About Bob
Bob is a retired electronics engineer who has traveled all around the world, but now lives in Mandeville, Louisiana. He has written 8 articles for us so far (including this one), and we have done one about him (click here). We’re very grateful to him for his contributions to our community of home cheese makers.
These are his previous articles, listed in order with the most recent at top:
Bob’s Oyster Pork Pie
Kummelkase (Caraway Cheese)
Cream Cheese Experiment
Bob’s Homemade Curd Cutter – Part 2
Bob’s Homemade Horizontal Curd Cutter
Making a Drying Box
About Cooking Curds
Creole Cream Cheese


Do you ever have a problem with the cave temperature dropping to low? If so, how did you sort it?
This is a fantastic article. I love it when instructional documents are detailed, well written-focusing on the subject matter, and loaded with photos, and links. Thank you kindly for this one Bob and Cheesemaking.com. I hope this will always be available on your site folks. This will be of great assistance to all making a homemade cheese cave.
Awesome!!! I’ve got an alternate temp controller that will also manage heating and cooling, for about $10 plus some parts if you don’t already have them readily available. The heating comes in handy if the “cave” is in an unheated space, you just attach an incandescent lightbulb wrapped in foil. The controller is an STC-1000. I’ve used them in the past to build a temp controller for my beer kegerator and also as a digital heat controller for the aquariums.
But overall that looks like a nice simple easy build.
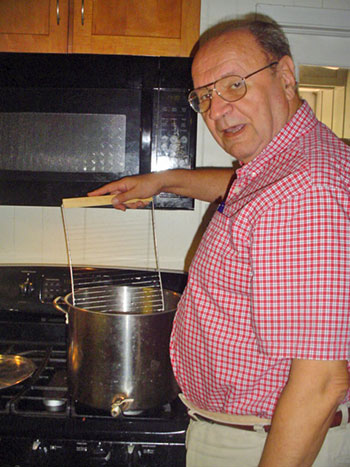
Very informative, Bob! Plan to convert my wine fridge into “la cav de frommage” this week. Question…Where can I purchase a horizontal curd cutter like the one you’re holding in that photo? Looked everywhere for one like that.
Great article! My wine cooler allows me to change the temp settings so I have that already. The humidity is the issue. I have learned that you need a separate cooler for mold ripened cheeses – particularly the blues. That fungus remains in the cooler’s system FOREVER no matter how much bleach you use to cleanse everything! So I now have blue gouda. Good that I love blue!
Wow, Christina, that is good info to have. I will have to make sure I remember that. Definitely not prepared for a bleu cheddar!
Wow, Bob, this is so doable! I have been wanting to try hard cheeses again and this will really make that possible! I had an old fridge for aging at my old place, but could never figure out how to regulate the humidity. Thanks so much for sharing your solution.
I was looking at the same product and was wondering approximately how often does the bottle need to be filled? I have the same fridge.
Great info on the converted dorm fridge to cheese cave. I have tried making ricotta salata (dried ricotta) and without the humidity, it gets a little crusty on the outside. The main reason I enjoyed his article is because I am getting into meat curing and have been looking into making a meat curing chamber. What goes better than homemade cheese and cured meats. Like cheese caves there are tons of articles on meat curing. Bob spelled it out quite succinctly. Love the bottle cap humidifier and links to the equipment he suggested. I may try and find one a little larger and with a slightly larger reservoir. Enjoy this site and enjoyed this article.
Very much enjoyed Bob’s article on cheese caves. The humidity part resonated with me as that has been my biggest problem. I live in a semi arid area of Colorado with very little humidity and struggle to keep a consistent level of humidity.