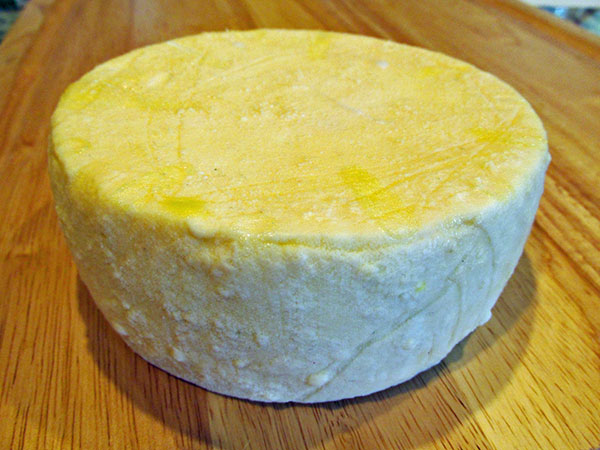
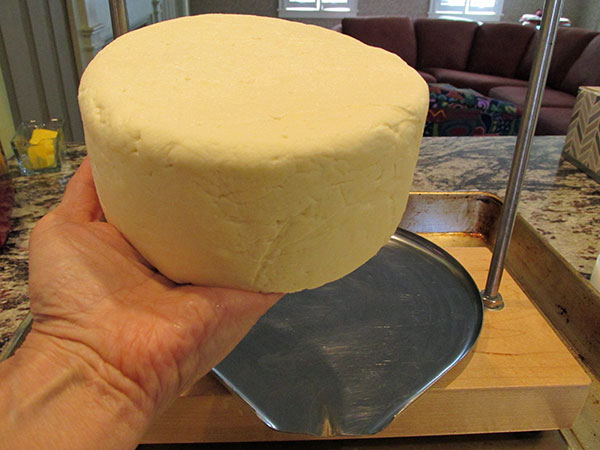
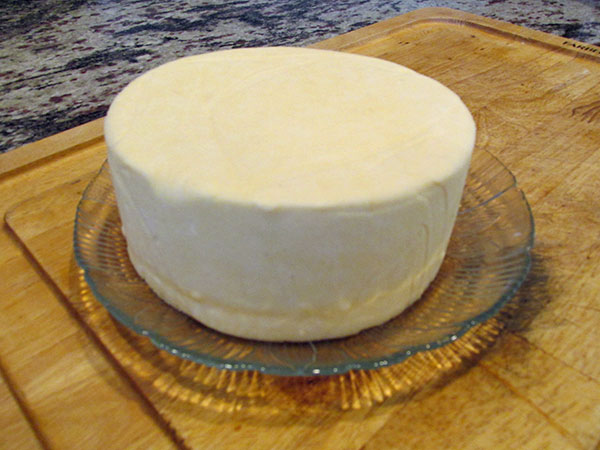
After one week of aging, rubbed with olive oil
If you think making cheese is hard, this is the recipe for you. There is really no whey you can mess it up!
I used the recipe in our book, Home Cheese Making (page 104 in the 3rd edition). For a more detailed version, you can use Jim Wallace’s Farmstead Cheese recipe on our website (click here).
Just follow along and you will see how easy it is to make your own cheese:
Farmhouse Cheddar
By Ricki Carroll
Ingredients:
2 gallons whole milk (You can use raw milk or store-bought)
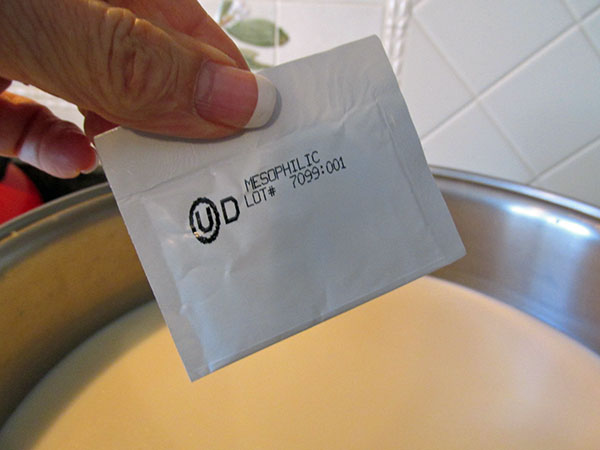
1 packet direct set mesophilic starter or 4 ounces prepared mesophilic starter
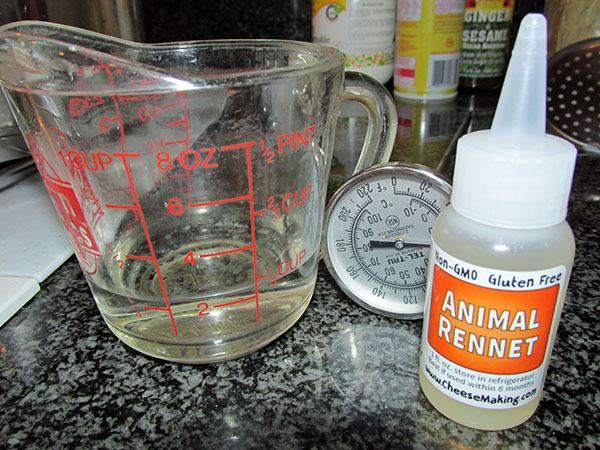
1/2 teaspoon liquid rennet (or 1/2 rennet tablet) diluted in 1/4 cup cool, unchlorinated water
1 tablespoon cheese salt
Cheese wax (optional)
Directions:
1. Heat the milk to 90F. (If you are using goat’s milk, heat it to 85F.)
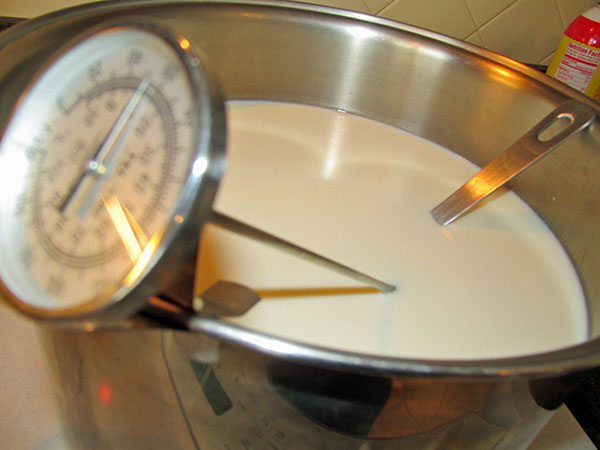
Add the starter and stir thoroughly.
Cover and allow the milk to ripen for 45 minutes.
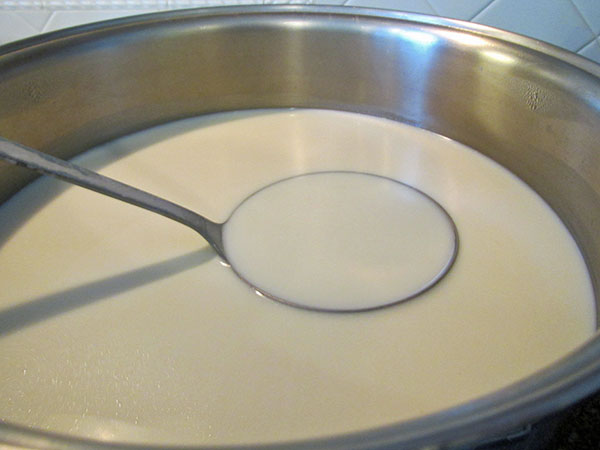
2. Add the diluted rennet and stir gently with an up-and-down motion for 1 minute. (If you are using farm-fresh cow’s milk, top-stir for one minute with the flat underside of the ladle no more than 1/2 inch deep to blend the butterfat that rises to the surface.)
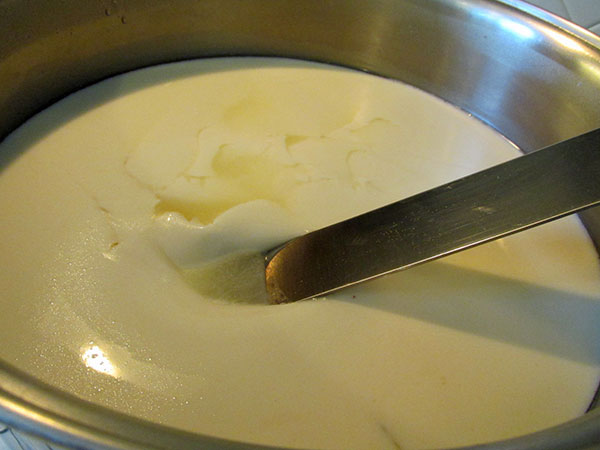
Cover and let set at 90F (85F for goat’s milk) for 45 minutes or until the curd gives a clean break.
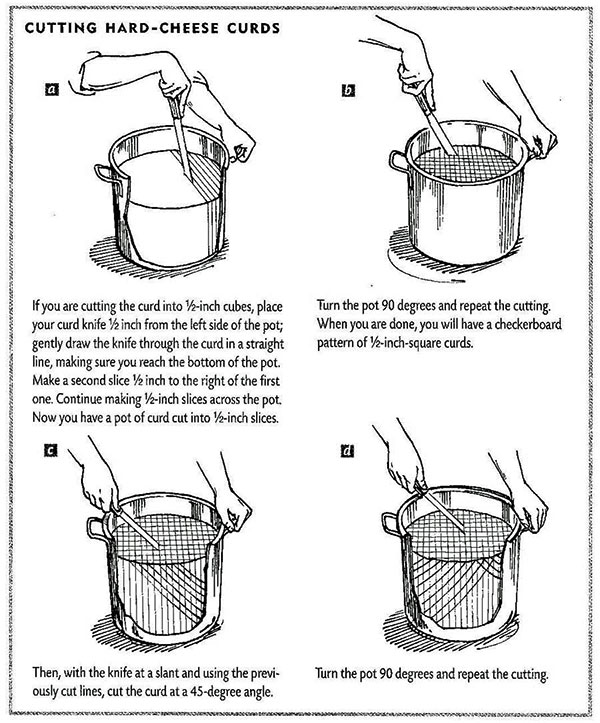
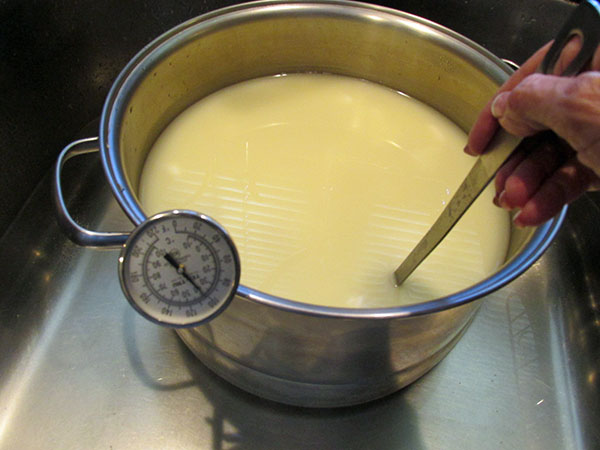
3. Cut the curd into 1/2-inch cubes. (I think this diagram says more than a picture would.)
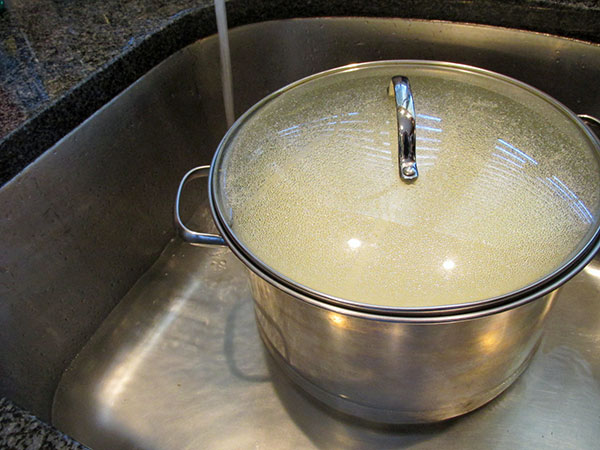
Place the pot in a sink full of hot water and slowly heat the curds to 100F, increasing the temperature by no more than 2 degrees every five minutes. This will take about 30 minutes.
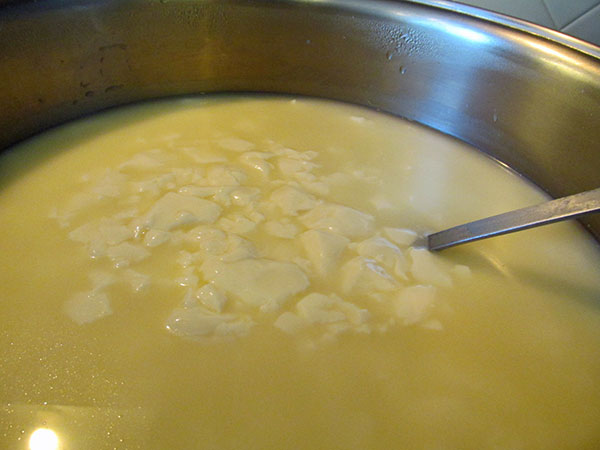
Stir gently to keep the curds from matting. The curds will shrink noticeably in size as the heating continues and you stir gently.
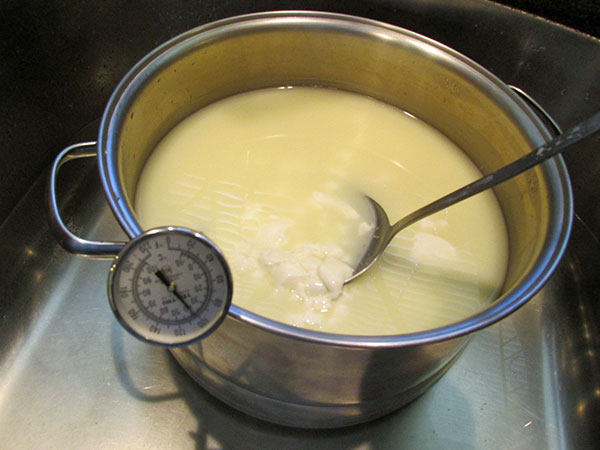
The yellowish whey will grow in quantity as the curds shrink.
5. Cover the container and let the curds set for 5 minutes.
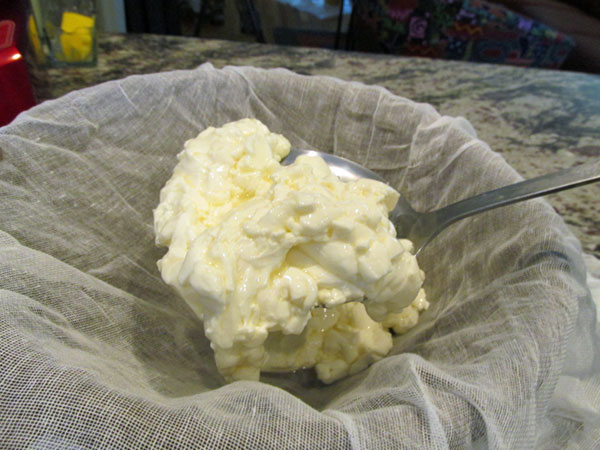
Pour the curds into a cheesecloth-lined colander.
Tie the corners of the cheesecloth into a knot and hang the bag in a convenient spot to drain for 1 hour. Do not hang in a drafty spot-the curds need to stay relatively warm.
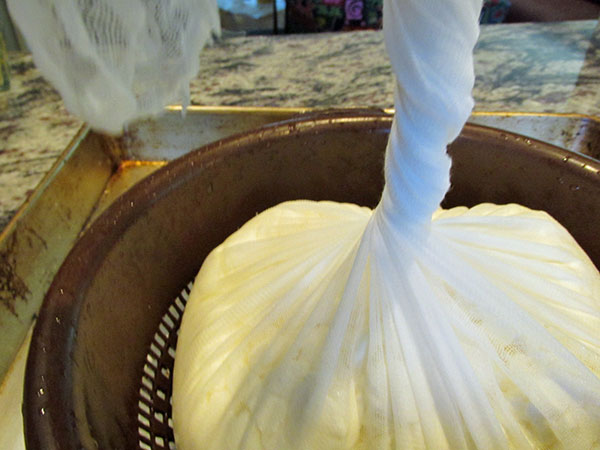
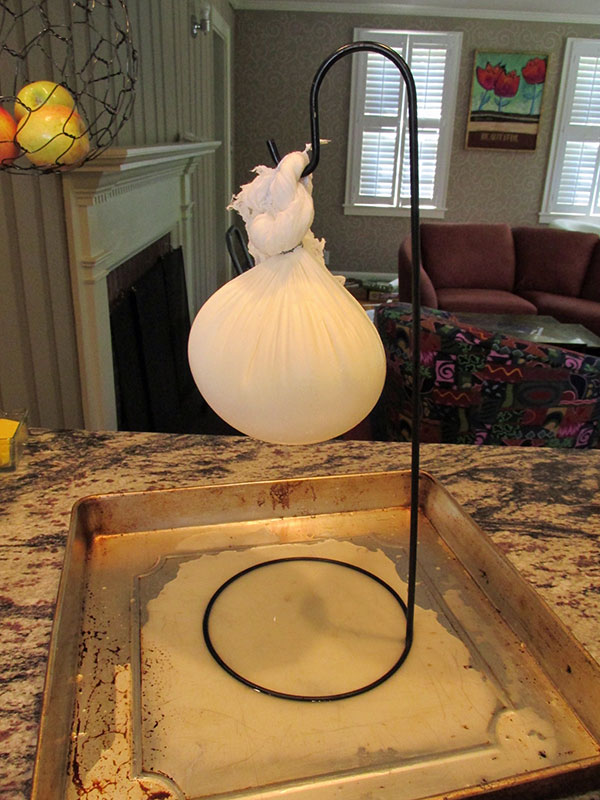
I use my banana hanger for draining curds.
6. Place the drained curds in a bowl and break them up gently with your fingers into walnut-size pieces.
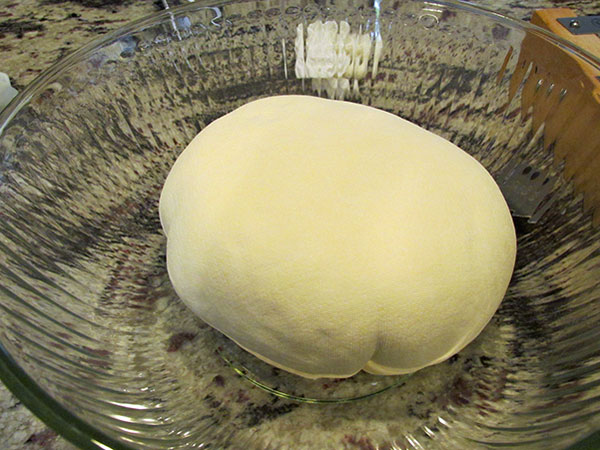
Mix in the salt.

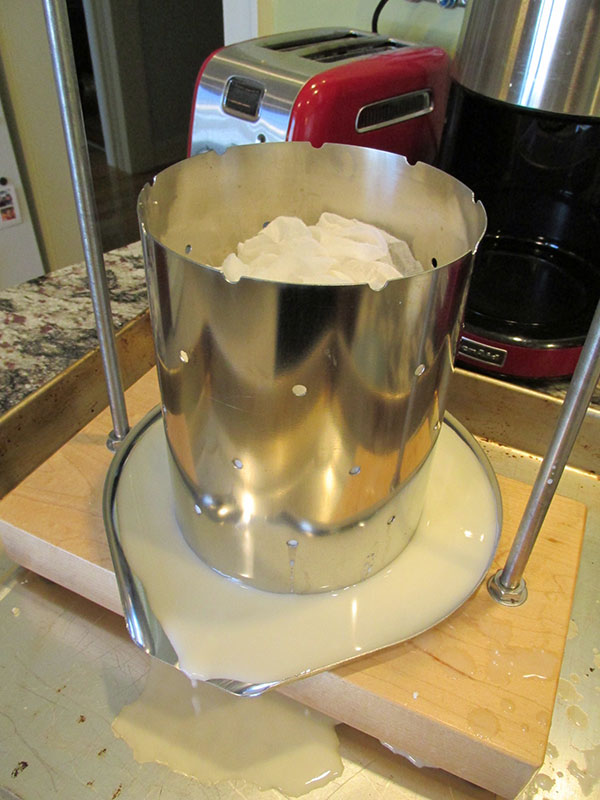
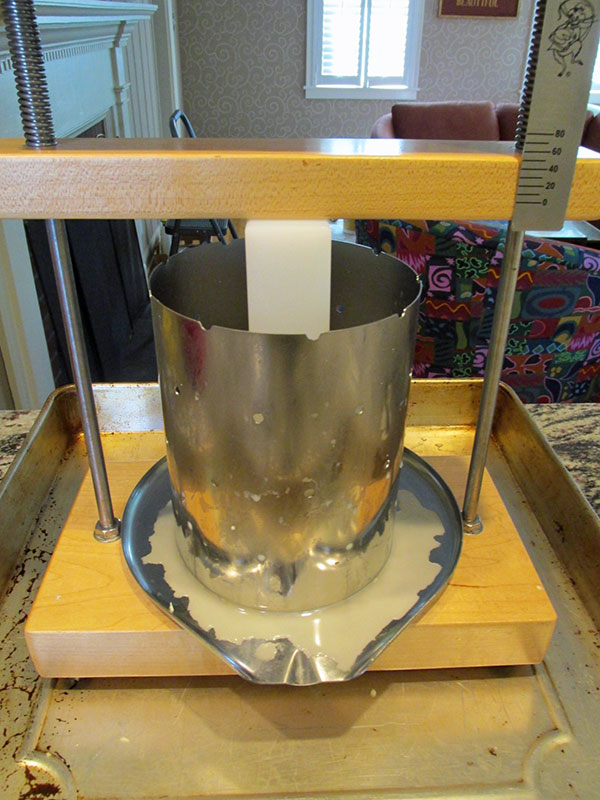
7. Firmly pack the curds into a 2-pound mold lined with cheesecloth, then neatly fold the cheesecloth over the top. Apply 10 pounds of pressure for 10 minutes.
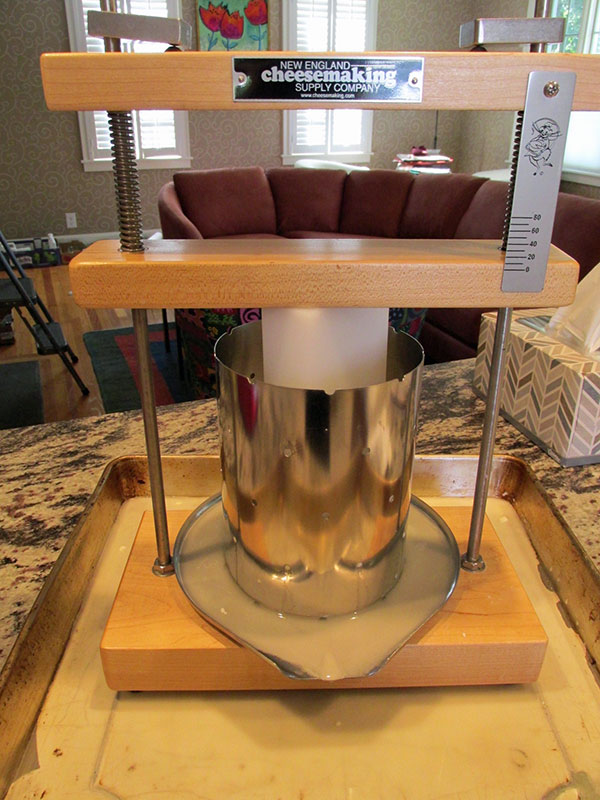
8. Remove the cheese from the mold and gently peel away the cheesecloth. Turn over the cheese, re-dress it, and press at 20 pounds of pressure for 10 minutes.
9. Repeat the process but press at 50 pounds of pressure for 12 hours.
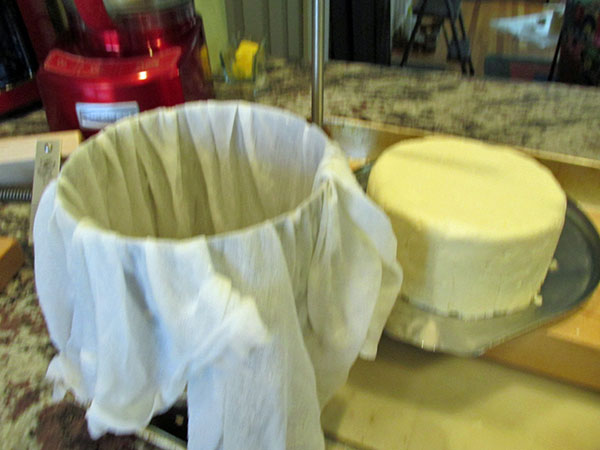
10. Remove the cheese from the mold and carefully peel away the cheesecloth.
Air-dry the cheese at room temperature until a nice rind has developed and the surface is quite dry. This can take 2-4 days, depending on the weather. (Mine took 5 days because the weather was fairly humid.)
Turn the cheese several times a day so moisture will not collect on the bottom.
11. Wax the cheese (see page 57 or Jim’s directions online. (I like a natural rind, so I simply rubbed it in olive oil after it was dry on the outside. As the days go by, I brush off any mold and rub again with more oil.)
12. Age the cheese for at least 1 month.
YIELD: 2 pounds
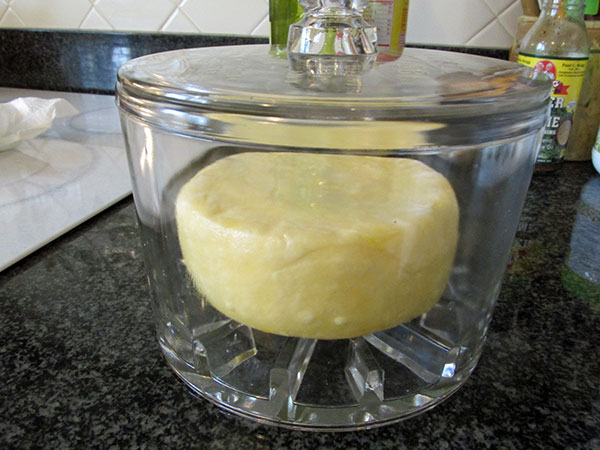
I found this cheese preserver at a tag sale and I use it to age my cheese. The moisture from the cheese keeps the humidity up and the glass grid at the bottom keeps the cheese off the moisture. You can usually find these for sale on E-bay.


Is there any way to tell when the cheese is done? I’ve aged it a month in a high humidity…slightly cooler than ideal temp….it smells like Parmesan….should I cut in to it or let it age another month?
The professionals use a “trier” with their large wheels to make a plug in the cheese so they can taste the center. That wouldn’t work with your little cheese, so, basically, you don’t know. If you cut into it now, make notes and next time, try aging it longer. Eventually, you will know exactly how you like it.
I have a couple of questions. One is, do you keep the cheese in the cheese preserver on the counter or in the refrigerator? Also, is it necessary to wax the cheese? It looks like the person who made the cheese above just uses olive oil to coat it with?
You keep the cheese preserver at 52-56F ideally. Whether that is in a room, a converted refrigerator or even a cooler is up to you.
You don’t have to wax the cheese. As you can see in the picture, I oiled mine because I like a natural rind. Happy cheese making!
What size cheese can you put in the glass ager? I have some cheeses that are from 6 gallon batches. Are the smaller cheeses the only ones that will fit in the glass ager? I would really love to have several of those.
This is the first time I have heard about using oil to rug on the outside of an air dried cheese! Does it work better than wax? My cheeses are quite large and waxing them at this size is….well…dangerous in my view and I just know I would not get it right. How did the oiling work for you? What were the results?
The dimensions of the glass are 7″ diameter and 3.5″ above the ridges on the bottom. So, I doubt if your large cheeses would fit into it.
Regarding the oiling, I liked the results. I did spend time every day rotating the cheese and rubbing off the little bit of mold that formed.
I liked the taste of the rind. I hope this helps.
I read your blog on my phone… I was going to say Jeri got me started on making farmhouse cheddar. But then you already know that… I have my second goat milk cheddar aging on a shelf in a cool room off the kitchen. It is waxed. Not sure I need to, but there is some water in a bowl nearby and I turn them every few days. First one came out great! Thx Jeri!
Thanks, Bluma. I was thinking about you recently because I saw a video which I think you would really like – https://youtu.be/gXn8u8aEi1U
(I’ll be doing an article about the family soon.)
O my goodness. How heartwarming. and look at the tiny kids milking those goats. thx for sending that video my way, Jeri.
Do I need calcium chloride if it’s store milk?
Yes, it is usually a good idea to use calcium chloride with store-bought milk. See our FAQ –
Do I need to add calcium chloride to my pasteurized/homogenized milk?
Pasteurizing and homogenizing milk disturbs the calcium balance in it. The result may be a slightly softer curd than you want when making cheese. If your curd is fine, you may choose not to add calcium chloride. Otherwise, it is probably a good idea. Use the same amount of calcium chloride as the rennet that is needed in your recipe or 1/4 tsp. per gallon of milk. Dilute it in 1/4 cup of cool, non-chlorinated water and add it when you begin heating your milk. Then, after adding your rennet, allow the milk to set 3-5 minutes longer than usual before cutting your curd. (We do not recommend adding calcium chloride to your milk when making 30 Minute Mozzarella. It may prevent your curds from stretching in the final step.)
What is the process for increasing the water temp in the water bath? Are you heating the water in the sink or adding heated water? Are you monitoring the temp of the water in the sink, milk, or both. I’ve had no success with this process which makes me think I’m doing something wrong.
Try not to overthink this- it’s not an exact science. You don’t care about the temperature of the water in the sink- you are simply raising the temperature of the milk. To achieve this, you can add hot water to the sink until you get to the target temperature. Our technical advisor, Jim Wallace (jim@cheesemaking.com) is always happy to help you whenever you have a question, so don’t worry- we’ve got you covered!
The ingredients call for 1 packet direct set mesophilic starter or 4 ounces prepared mesophilic starter. What’s is that as teaspoons?
Our packets are measured by activity level- not by quantity, because they include other ingredients (which feed the bacteria when they wake up.) So, if you are using a Danisco culture, for example, you have to follow the directions for that culture. Our packets set up to 2 gallons of store-bought milk or 3-4 gallons of raw milk.
You mean turn the pot 180 degrees on curd cutting. Halfway around a circle is not 90 deg . Am I wrong ?
No, that is right. You are turning the pot 1/4 of the way around the circle as you cut, so you end up with 4 lines of cut.
Hello. I found a glass Maytag cheese preserver on EBay after reading this article. If using that, could it age on the counter, inside this preserver for one month, or should it be kept at 55 degrees?
Thank you posting such great recipes!
If you don’t keep it at 55F, it will get too moldy too fast. As it is, you will have to turn it over and brush off any mold every day or at least every other day. I hope you enjoy your new preserver!
I have made this cheese many times, and never made it all the way thru the process. We love cheese curds, and it all gets eaten before it gets pressed.
thanx for very detail instructions.
ive been making cheese for the last 2 years and enjoys experimenting all the time.
i have a problem that my cheese has a slight moldy taste and i cannot solve the problem. i leave the cheese out for the first few days and when it is dry i store it in my fridge for a few days to dry further and then i cover it with wax.
i see that you use olive oil instead and i will definitely try that to see if it solves my problem.
thanking you
I used the olive oil instead of wax – for a “natural rind.” That’s a different process from waxing. Question: When you wax, are you dipping at least twice? If so, and you are still getting the moldy taste, write to jim@cheesemaking.com with your particulars. He is our resource for all technical questions and he will get right back to you.
Where does the cheese go to age for 1 month? Counter or refrigerator? Or somewhere else? What should the temperature be?
Thanks!
Ideally, the temp would be 50-55F. Your refrigerator is cooler than that, so it’s not the ideal place. I put mine in a plastic container which I put in a cooler with a bottle of ice water. This keeps the temp at 55F. For more info, see our FAQ section about aging cheese- http://www.cheesemaking.com/learn/faq/aging-cheese.html
@Jeri All the instructions I’ve read on cheese caves have been complicated and involved….I never even thought of just using a simple cooler! I’m in a studio apartment with no basement, and this idea will make it possible for me to try aged cheeses again! How often do you replace the ice water bottle? And do you think a simple styrofoam cooler would work? Thanks!
I keep my dairy thermometer in the cooler (and, yes, styrofoam is fine) so when the temperature gets above 55F, I add a couple of ice cubes to the water. In the hot New England summer, that’s about once a day. Think of your situation this way- if people could make cheese thousands of years ago, in the desert, you can certainly make cheese in your studio apartment!
I have considered buying dairy goats, but had no idea how to make cheese with my goat milk!!! Do you have to weight down soft cheese like feta ??
No, and there are many other cheeses that do not require a press. If you go to our website, we have tons of info and recipes. Start with our beginner section-https://www.cheesemaking.com/learn/cheese-making-1-2-3.html
I totally agree this is a great beginner’s cheese. The post sent me back some years to my first steps as cheesemaker. And I have photos too:
http://www.pulcetta.com/2008/11/formaggio-fatto-in-casa.html
I can hardly believe almost 8 years have passed, but the good news is that I am still making cheese at home, still having fun, still enjoying the results.
Simona, You have the best blog ever! and it is an honor to have you read this article. So, thanks, and let me point out to anyone who makes cheese – go to Simona Carini’s blog – Briciole